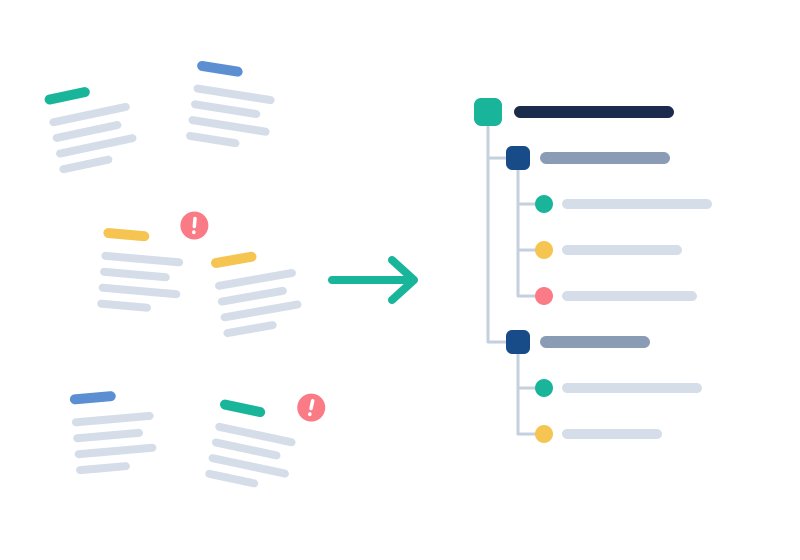
Why training resources get messy
Most RTOs don't choose to be disorganised. Resources build up over years, from different trainers, in whatever tool was handy at the time. A shared drive gets a new folder for each intake. Someone saves an updated assessment guide as "final v2" next to the original. A trainer keeps their best activities on their own laptop because that's where they wrote them.
The result is familiar: trainers can't find what they need, nobody is sure which version is current, and a relief trainer covering a class has no idea where the group is up to. The fix isn't working harder at filing. It's agreeing on a few simple rules and sticking to them.
1. Find out what you actually have
Before you move anything, make a list of every place resources live today. For most RTOs that includes:
- shared drives, SharePoint, Dropbox or Google Drive
- trainers' own laptops and USB drives
- email attachments and chat messages
- your LMS, if you use one
- browser bookmarks for videos and websites
Ask each trainer what they use every week. You'll often find the material people rely on most is the material that's hardest to find, because it never made it into the official folders.
2. Give every resource one home
The single biggest improvement is agreeing that there is one place where the current version of every resource lives. Personal copies are where most version problems start, and they disappear when a laptop is replaced or a trainer moves on. One EQC Institute trainer put it simply:
"Teaching a class on my new laptop was hard because all of my resources were saved on my old laptop."
Trainers can still download a copy to teach from. The rule is that changes go back to the one home, so everyone else gets them too.
3. Organise the way trainers think
Trainers look for resources by what they're teaching, so build your structure around that rather than around who created a file or when. A structure that works for most RTOs is:
- Course, the qualification or skill set you deliver
- Unit or subject within that course
- Resource type, such as lesson plans, assessment guides, trainer tools, links and videos
Keep material that isn't tied to one course, such as trainer handbooks, policies and templates, in its own clearly named area so it doesn't get duplicated into every course folder.
If the same unit is delivered in more than one course, try not to keep separate copies in each. Duplicates drift apart the moment one of them is updated. Keep one copy and point to it from each course instead.
4. Use a naming convention everyone can follow
A good file name tells a trainer what something is before they open it. Pick one pattern and write it down. For example:
[unit code] - [resource type] - [short description]
A few rules make a big difference:
- Avoid words like "final", "new", "latest" or "updated". They stop being true the next time the file changes.
- If you need dates in names, write them as YYYY-MM-DD so they sort in order.
- Spell out what the resource is. "Session 3 role play scenarios" is far more useful than "Activity3.docx".
5. Keep only the current version in front of trainers
Training packages change, and when a unit is updated or superseded the resources built for it need reviewing. If old and new versions sit side by side, someone will eventually teach or assess from the wrong one.
Replace a resource in place when you update it, and move anything superseded out of the everyday library. Keep a record of who changed what and when, so you can answer the question when an auditor or a colleague asks.
6. Add context, not just files
A file on its own often isn't enough for someone who didn't write it. A short note on what the resource is for, when to use it and how makes it usable by anyone, especially a new or relief trainer. Screenshots and short videos help even more for anything practical.
Keep links and videos alongside the files for the same unit, rather than in a separate document or someone's browser bookmarks.
7. Decide who should see what
Not every resource is for everyone. Assessment tools and marking guides are usually for assessors only. Admin documents, such as internal procedures, are often for staff who manage the RTO. If you deliver across departments or campuses, each team may only need its own courses.
Setting this up once means trainers see a shorter, more relevant library, and sensitive material stays with the people who need it.
8. Make someone responsible for keeping it tidy
Structures decay without an owner. Give each course a person responsible for its resources, and set a regular review, such as once a term, to remove duplicates, check links still work and confirm resources match the current version of each unit.
Where Xeltom fits
Xeltom was built inside an RTO to solve exactly this, and it puts these rules into the tool itself:
- Resources are organised by course, subject and resource type, with a separate area for documents that aren't tied to a course.
- One resource can be attached to several subjects, so there's one copy to keep current instead of many.
- Every resource has its own page with an overview, recommended usage, screenshots and embedded videos, and shows who uploaded it, who last updated it and when.
- Links and videos sit alongside files, and trainers can search by keyword or filter by course, subject or category.
- Assessor-only material is hidden from trainers who don't assess, admin resources stay with admins, and workspaces keep each department or campus to its own courses.
- Admins can bring existing files across by uploading a ZIP and assigning each file to a course or subject.